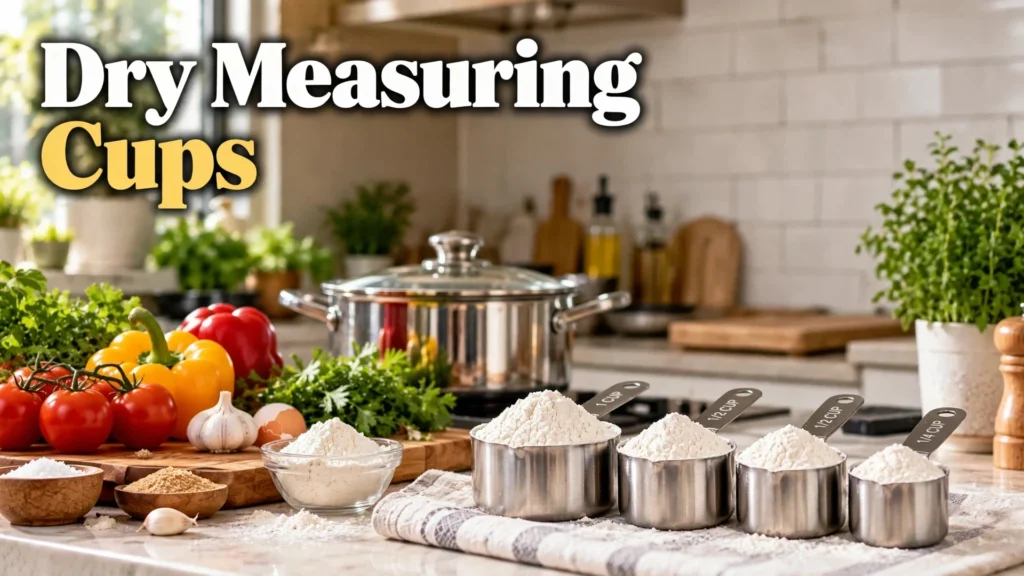
Dry measuring cups made my baking consistent for the first time. Here are the 9 secrets I learned, plus the set I reach for daily.
I baked with a coffee mug for years. My cookies spread flat every time. My cakes sank in the middle. I blamed my oven for a long time. Then a friend watched me scoop flour. She shook her head quietly. “That is your whole problem,” she said. She bought me dry measuring cups that week. My next batch of cookies held their shape. I finally understood precision in baking. That one gift changed my kitchen forever. If your bakes feel random, keep reading. These nine secrets took me years to learn.
What Dry Measuring Cups Actually Are
Dry measuring cups are cups you fill to the brim. You level the top flat with a knife. They measure flour, sugar, cocoa, and oats. They come in nested sets of four.
Liquid measuring cups look totally different. They have spouts and headroom above the line. Dry measuring cups skip all that. The flat rim lets you swipe off excess flour.
This small design difference changed my baking. My recipes finally behaved like the book promised. Once you feel that control, you never go back.
| Cup Type | Best For | My Honest Take |
|---|---|---|
| Dry cups | Flour, sugar, cocoa | Exact leveling, my top pick |
| Liquid cups | Milk, oil, water | Spouts help pour cleanly |
| Scoops | Coffee, protein powder | Rough portions only |
The day I switched to real dry measuring cups, my pancakes finally held their shape.
The Spoon-and-Level Method I Swear By
Spoon flour into the cup lightly. Never scoop straight from the bag. Scooping packs the flour down hard. Packed flour can add thirty percent more. That hidden extra ruins delicate cakes.
Once heaped, level the top flat. Use the back of a butter knife. Swipe straight across in one smooth motion. That gives you a true cup every time.
I tested this with my kitchen scale. Scooping from the bag gave 160 grams. Spoon-and-level gave exactly 125 grams. That 35-gram gap explains my flat cookies. Technique is the real secret ingredient.
| Step | What To Do | Why It Matters |
|---|---|---|
| Spoon | Fill cup lightly with spoon | Avoids packing the flour |
| Heap | Let it pile above rim | Guarantees a full measure |
| Level | Swipe knife across top | Removes the extra cleanly |
Check my full list of daily tools here: kitchen tools list.
Metal vs Plastic: My Honest Take
I started with cheap plastic dry measuring cups. The printed marks faded within months. The smallest cup cracked in the dishwasher. I replaced them twice in one year.
Then I switched to stainless steel. The engraved marks never fade away. They survive the dishwasher without warping. They feel solid and level flour cleanly. Every swipe feels precise and satisfying.
Plastic still has one clear advantage. It costs less money upfront. If you rarely bake, plastic works fine. For weekly bakers, steel pays for itself fast.
| Feature | Stainless Steel | Plastic |
|---|---|---|
| Markings | Engraved, last forever | Printed, fade fast |
| Dishwasher | Safe, no warping | May warp or crack |
| Leveling | Crisp clean edge | Edge can flex |
My plastic one-cup measure warped so badly it held a full tablespoon less. I tossed it that same day.
My Scale Experiment Settled the Debate
I once doubted that cups could be precise. So I ran a weekend experiment. I measured one cup of flour ten ways. I weighed each attempt on my scale.
Scooped cups ranged from 140 to 165 grams. Spooned-and-leveled cups landed between 123 and 128. That tight cluster convinced me completely. Method matters more than the cup itself.
Good dry measuring cups plus solid technique beat guesswork. Now I weigh only when a recipe demands grams. For everyday baking, my cups are plenty.
Weighing taught me one lesson. Technique beats tools, but good tools make technique easy.
The 4-Piece Set I Keep Reaching For
After testing several sets, one won my drawer. The Zyliss Premium Stainless Steel Measuring Cups set has four nesting cups. It covers one cup, half cup, third cup, and quarter cup.
The handles feel sturdy in my hand. The engraved sizes stay readable after hundreds of washes. They nest together on a simple ring. Storage takes almost no drawer space.
I use them for flour, sugar, oats, and breadcrumbs. They also handle sticky honey surprisingly well. A quick oil spray makes honey slide right out.
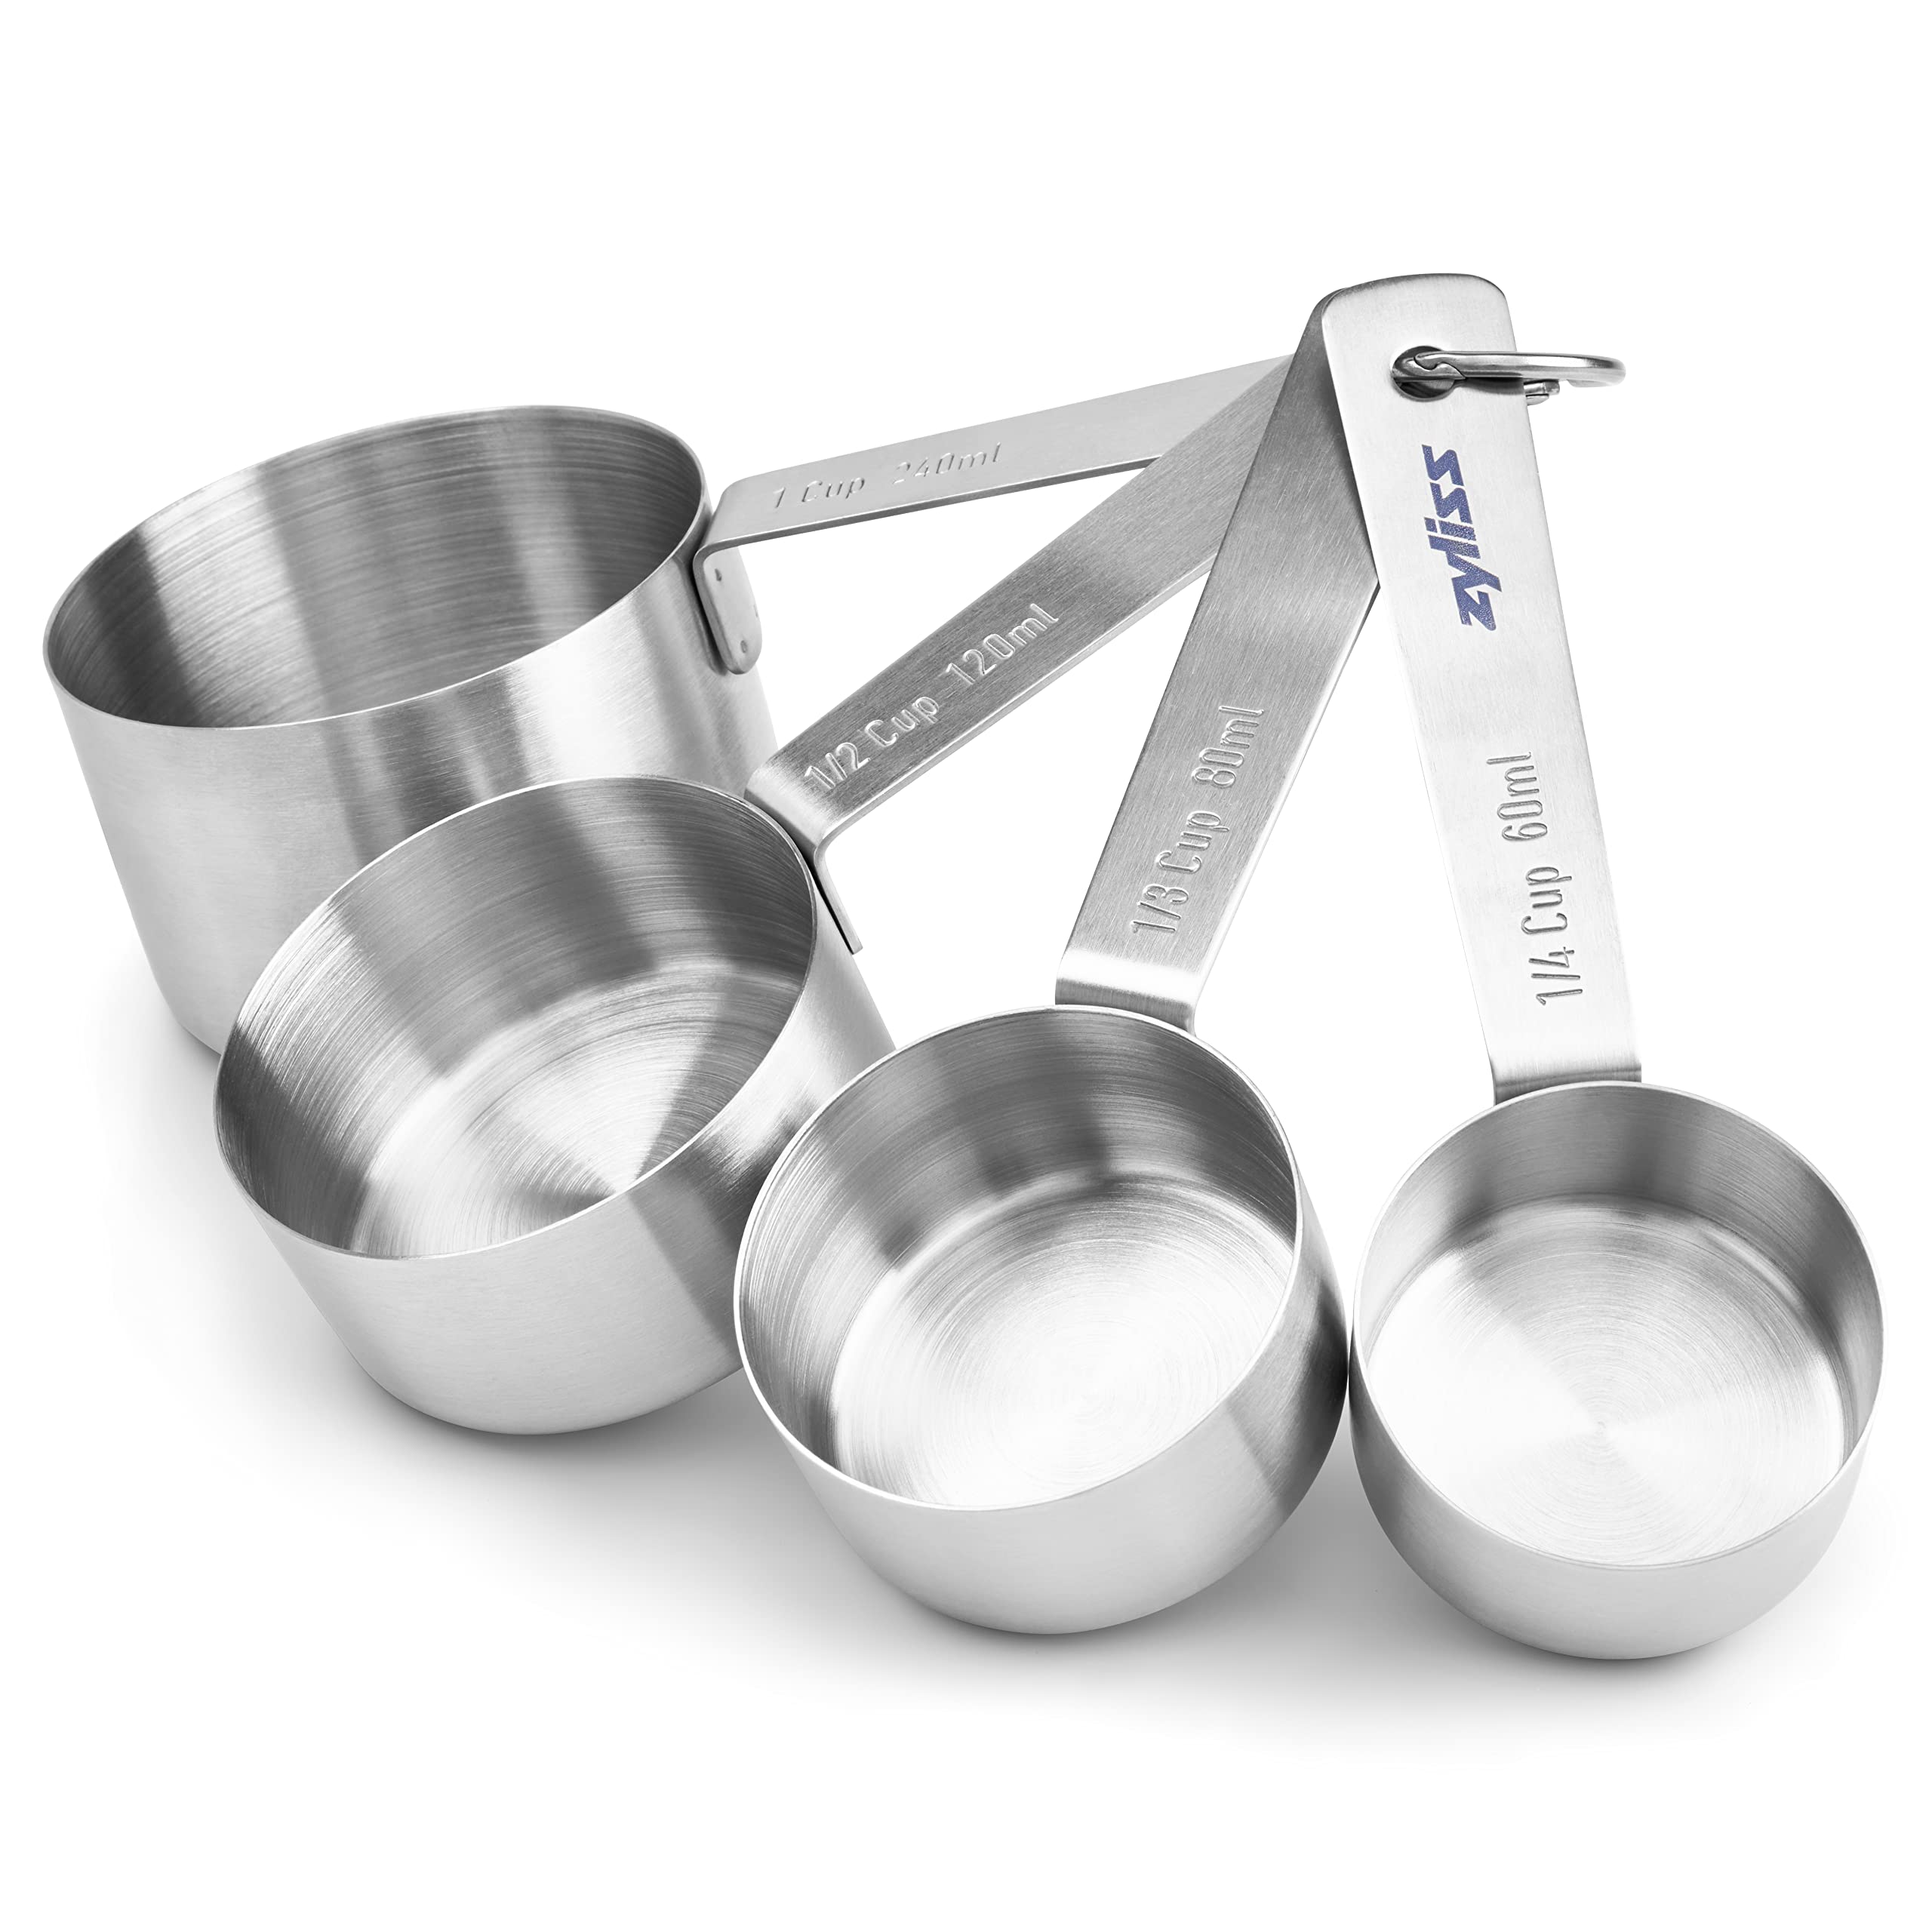
Grab the set I trust daily here: Zyliss Premium Stainless Steel Measuring Cups.
Sizes You Really Need
Most sets include four to seven cups. I found that four covers nearly everything. Odd sizes like two-thirds cup appear in fancy sets. I rarely miss them in real cooking.
One cup handles flour and sugar. Half cup covers oats and cocoa powder. Third cup measures oil for salad dressings. Quarter cup portions spices and small amounts.
| Size | My Go-To Use | Frequency |
|---|---|---|
| 1 cup | Flour, sugar, milk | Almost daily |
| 1/2 cup | Oats, cocoa, rice | Weekly |
| 1/3 cup | Oil, honey, syrup | Weekly |
| 1/4 cup | Spices, nuts, seeds | Daily |
Pair them with a reliable spoon: cooking spoon guide.
Mistakes I Made So You Can Skip Them
I made every rookie error possible. My worst habit was shaking the cup to settle flour. That packed it down and ruined the measure. I also eyeballed brown sugar without packing it. Recipes need packed brown sugar, never loose.
Another mistake was using dry measuring cups for liquids. Water spills over the flat rim instantly. Use the right tool for the job. Your counters will stay much cleaner too.
| Mistake I Made | What Went Wrong | The Fix |
|---|---|---|
| Scooping from bag | Packed flour, dense cakes | Spoon and level |
| Shaking to settle | Extra flour snuck in | Fill once, level |
| Eyeballing brown sugar | Cookies too sweet, flat | Pack it firmly |
Packing brown sugar felt wrong at first. Then my cookies finally chewed like the bakery’s.
Care Tips That Keep Them Accurate
Good dry measuring cups last decades with basic care. I wash mine right after sticky ingredients. Dried honey in the seam drives me crazy.
Stainless steel tolerates the dishwasher well. Plastic prefers hand washing to avoid warping. Always dry cups fully before nesting them. Trapped water leaves ugly spots behind.
Store them nested on their ring. My set lives in a drawer by the stove. Easy access means I actually use them. Tools you can reach become tools you love.
| Care Habit | My Routine | Result |
|---|---|---|
| Wash quickly | Right after sticky stuff | No crusty seams |
| Dry fully | Towel dry before nesting | Spot-free steel |
| Store nested | Ring on, drawer nearby | Grab-and-go ready |
More storage tricks live in my kitchen essentials guide.
Teaching My Sister the Method
My sister baked like I used to. She scooped flour straight from the bag. Her banana bread came out dense and gummy. I handed her my cups one Saturday. We baked the same recipe side by side. Her loaf rose tall and even. She bought her own set that evening.
She texted me a photo of her perfect loaf. The caption said one word: finally.
FAQs
Do I really need separate dry measuring cups?
Yes, they matter more than most cooks expect. Flat rims let you level ingredients with precision. Your baking gets noticeably more consistent fast.
Can I use a coffee mug instead?
Please do not. Coffee mugs vary wildly in volume. One of mine held 200 milliliters. Another held 300. That randomness destroys delicate recipes every time.
Should I buy metal or plastic?
Metal wins for frequent bakers. Engraved marks never fade, and steel survives dishwashers. Plastic suits occasional bakers on a tight budget just fine.
How do I measure sticky honey?
Spray the cup lightly with oil first. Honey slides out cleanly every time. Your measure stays accurate, and cleanup takes only seconds.
Do I need the odd cup sizes?
Rarely, in my experience. Four standard sizes cover almost every recipe I cook. Add a two-thirds cup later only if a recipe demands it.
Can dry measuring cups go in the dishwasher?
Steel ones can, absolutely. Plastic cups may warp over time in hot cycles. Always check the care label before the first wash cycle.
My Final Take
These little cups earned their drawer space through years of better bakes. They cost little and fix a huge source of error. Start with a solid four-piece steel set. Learn the spoon-and-level method this weekend. Your cookies will thank you loudly.