
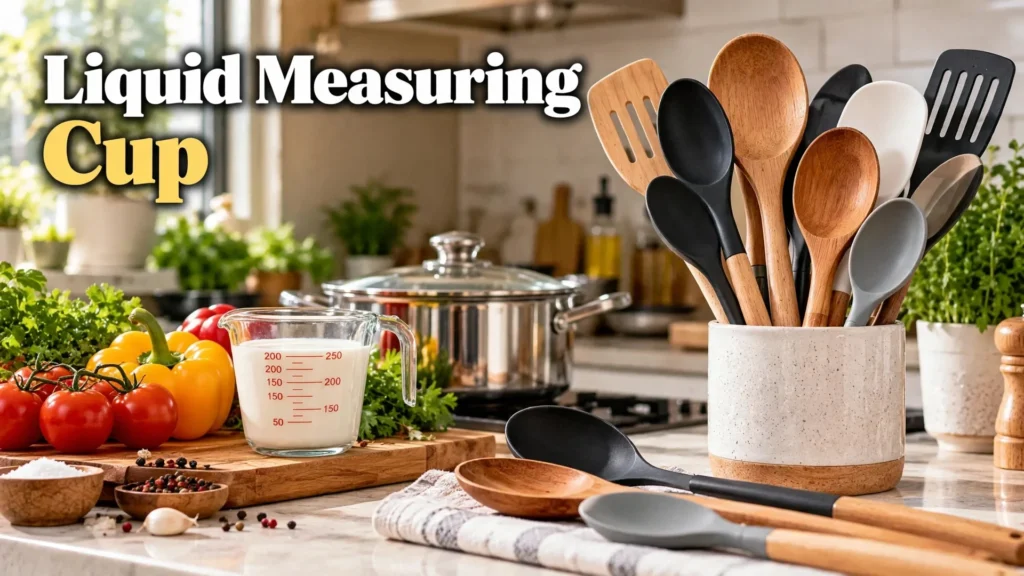
A liquid measuring cup fixed my baking fast. My honest guide to sizes, glass vs plastic, and reading the lines right every time.
I bought my first liquid measuring cup by accident. It arrived in a box of random kitchen tools. At the time I used dry cups for everything. Milk, water, and oil all got measured with the wrong tool. My pancakes came out different every single time. Then a friend showed me her liquid measuring cup. The spout, the clear lines, and the eye-level reading changed everything. I ordered my own that same week. It changed my baking more than any gadget since.
Why a Liquid Measuring Cup Deserves a Spot
Dry cups fail at liquids. They overfill, spill, and lie to you. Liquids need room to settle near the top. A liquid measuring cup gives you that headroom. You pour, set it down, and read at eye level. Dry cups force you to guess while walking to the pan. A spout matters more than you think. It aims the pour exactly where you want it. No more drips racing down the side. Cleaning the counter got so much easier. I used to waste flour on sloppy pours. Now the mess is almost gone.
| What I Tested | Winner | My Honest Verdict |
|---|---|---|
| Milk for pancakes | Liquid cup | No spills, better results |
| Water for bread | Liquid cup | Accurate every single time |
| Oil for dressing | Liquid cup | Clean pour, zero mess |
| Flour for cookies | Dry cup | Level it flat always |
My aha moment came at eye level. I bent down and read the line right. My batter finally matched the recipe.
The Sizes I Keep and What Each One Does
One size cannot cover every job. I tried for months. It failed fast. I own three sizes now. The 1-cup handles small jobs like eggs and cream. The 2-cup is my daily workhorse for milk and broth. The 4-cup comes out for soups and big batters. Beginners should start with just two sizes. The 2-cup and 1-cup cover most recipes. Add the 4-cup when you bake big batches. Storage stays easy because the set nests. Mine fits in one small cabinet slot.
| Size I Own | Best Jobs | How Often |
|---|---|---|
| 1-cup | Eggs, cream, sauces | Weekly |
| 2-cup | Milk, broth, water | Daily |
| 4-cup | Soups, pancake batter | Monthly |
Glass or Plastic: My Honest Take
Both work if the markings are honest. I own both kinds now. Glass feels sturdy and looks great on the counter. Plastic is light and safe around my kids. The markings matter more than the material you choose. If you have kids, pick plastic first. If you love hot coffee drinks, glass wins. Check the temperature rating before buying. Many plastic cups handle boiling water fine. Cheap plastic warps and clouds over time. Spend a little more for quality plastic.
| Feature | Glass Cup | Plastic Cup |
|---|---|---|
| Weight | Heavy and stable | Light and easy |
| Around kids | Breakable, risky | Drop-safe option |
| Hot liquids | Handles heat well | Check its rating |
| Fading | Rarely fades | Can fade fast |
I dropped my glass cup once and it survived. My plastic one faded in the dishwasher within a year. Now I hand wash every cup I own.
How to Read the Lines Without Messing Up
Read at eye level. That one rule fixes most mistakes. Set the liquid measuring cup on a flat counter. Bend your knees until your eyes match the line. Looking down from above reads too high. Most cups show cups, ounces, and milliliters. Pour slowly as you near the target line. It is easier to add than remove liquid. Let foam settle before reading milk. Bubbles can fake an extra ounce or two. Crouch down so the meniscus sits level.
| Common Mistake | What Goes Wrong | Easy Fix |
|---|---|---|
| Reading from above | Wrong amounts | Bend to eye level |
| Holding it up | Tilted surface | Set it down first |
| Using dry cups | Spills everywhere | Switch cup types |
A recipe failed twice before I learned this. My “one cup” of milk was closer to three quarters. Eye level fixed it for good.
The Set I Grab Every Single Week
After months of testing, one liquid measuring cup set earned my loyalty. The Chef Pomodoro 3-Piece Liquid Measuring Cups Set covers all three sizes I use. It includes 1-cup, 2-cup, and 4-cup sizes in shatterproof plastic. The bold red markings show U.S. and metric units clearly. The pour spout drips less than any cup I tested. The three cups nest together for tiny storage. I tested four different sets before choosing. This one won on clarity and pouring. The handles feel comfortable even when full. The 4-cup size stays light when filled. Kids can pour from the smaller cups safely. The markings sit above and below the handle. That means you can read from either side.

Check the Chef Pomodoro set on Amazon
My honest take: this set nails the basics. Clear lines, clean pours, and sizes that stack neatly. I reach for it more than any other tool.
Care Habits That Keep Markings Clear
Dishwasher heat fades printed markings. I learned this the hard way. Hand washing keeps the lines sharp for years. Avoid scrubbing the measurement side with anything rough. Let the cup air dry upside down on the rack. Store cups nested to save cabinet space. Do not stack heavy pots on top of them. Plastic can crack under too much weight. Rinse sticky liquids right away after pouring. Dried honey is much harder to wash off.
| Habit | After a Year | My Advice |
|---|---|---|
| Hand wash | Still sharp | Always do this |
| Daily dishwasher | Faded, blurry | Avoid when possible |
| Harsh scrubbers | Scratched off | Never touch markings |
My Quick Buying Checklist
Buy for your real routine. Fancy features waste money. Start with the checklist below. It takes two minutes to run through. I wish I had used it earlier. It would have saved me two bad purchases.
| Check Before Buying | What to Look For | Skip If |
|---|---|---|
| Marking clarity | Bold, easy read | Faint, blurry print |
| Sizes included | 1, 2, 4 cup | Single size only |
| Pour spout | Sharp, clean edge | Wide, drippy lip |
| Material rating | Heat safe listed | No rating shown |
A good one costs little. My set costs less than one failed cake. Buy once and use it daily.
When One Tool Is Not Enough
One cup handles most liquids well. Small amounts need smaller tools though. For teaspoons and tablespoons, I use measuring spoons. My kitchen tools list covers the full starter lineup. My cooking spoon guide pairs well with batter work too. My kitchen essentials guide fills the remaining gaps. A kitchen scale beats cups for serious baking. Weight stays accurate no matter the ingredient. But cups win for speed on busy nights. Use both and your recipes will thank you.
FAQs
Can I use it for flour?
Yes in a pinch, but dry cups work better. Spoon the flour in gently, then level it off. Never scoop straight from the bag.
Why does my cup show metric and US marks?
Recipes use both systems every day. Metric suits international cookbooks well. US marks fit American recipes best. Two scales mean fewer conversions.
How do I measure sticky liquids like honey?
Spray the cup with cooking oil first. Honey then slides right out cleanly. Read at eye level like any liquid. Cleanup stays quick and easy.
Is plastic or glass better for hot liquids?
Glass handles heat and stays stable. Some plastics warp with boiling water. Check the rating before pouring anything hot. Hand wash to protect markings.
What size should I buy first?
Start with a 2-cup size for daily recipes. It handles milk, broth, and water easily. Add 1-cup and 4-cup later as you cook more.
A liquid measuring cup is a small buy with big results. My baking improved within one week. Yours can too.